How to Assemble a Dip Station: Step-by-Step Guide for a Safe, Stable Home Workout
Are you ready to build serious upper body strength at home? A dip station is one of the best pieces of equipment you can buy for home workouts. It lets you do dips, L-sits, push-ups, and more — targeting your chest, triceps, shoulders, and core. But before you can start training, you need to know how to assemble a dip station correctly. In this guide, we will walk you through every step of assembly, help you find the perfect dip bar height guide, teach you how to stop dip bars from wobbling, and share essential safety tips for freestanding dip stations. By the end, you will have a rock-solid station ready for your toughest workouts. source
1. Introduction: Why Getting Assembly Right Matters
A dip station is a simple but powerful tool for bodyweight training. With just this one piece of gear, you can build impressive upper body strength. But here is the truth: a poorly assembled dip station is dangerous. Loose bolts, uneven bars, or an unstable base can lead to injuries or accidents. That is why learning how to assemble a dip station the right way is so important.
This guide covers everything. We start with the full assembly process. Then we help you choose the right height with our dip bar height guide. After that, we show you how to stop dip bars from wobbling for a rock-solid feel. Finally, we give you important safety tips for freestanding dip stations so you can train with confidence. Let’s get started. source
2. Step-by-Step Assembly Guide: How to Assemble a Dip Station
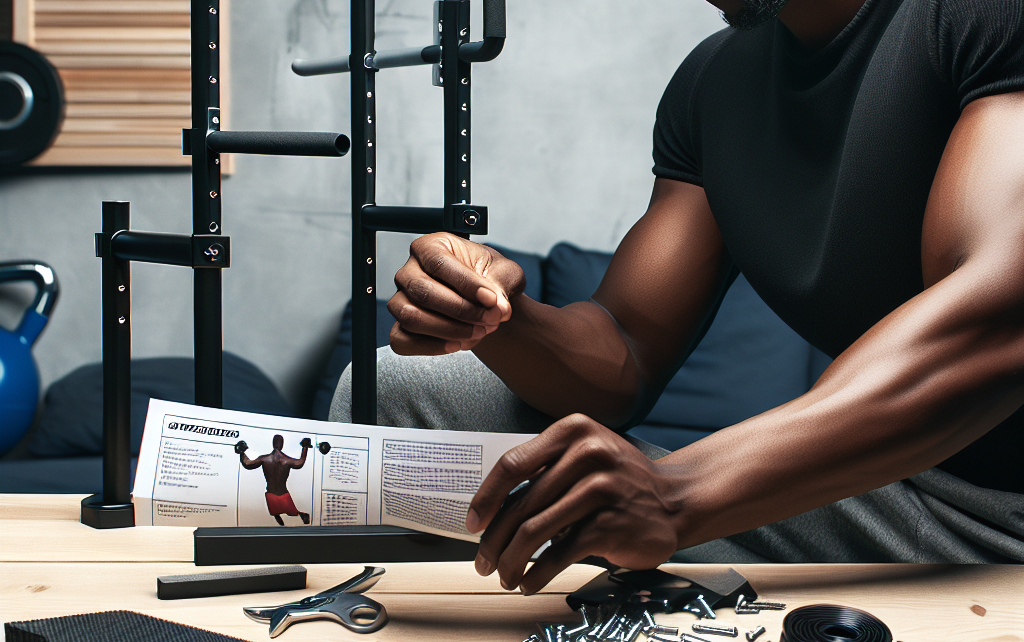
Assembling your dip station may look tricky at first, but it is actually quite simple. Most dip stations come with similar parts and instructions. Follow these steps carefully, and you will have your station ready in 30 to 60 minutes.
2.1 Unboxing and Checking Your Parts
Start by opening the box and laying out all the parts on a clean, flat surface. Check every piece against the instruction manual. Most dip stations include:
- Base frame pieces (left and right base stabilizers)
- Upright posts (vertical bars that hold the handles)
- Crossbars (horizontal bars that connect the sides)
- Dip handles or grips (foam or rubber-covered bars)
- Bolts, washers, and nuts
- Rubber end caps or feet
- Allen wrench or screwdriver (often included)
Make sure nothing is missing or damaged before you start. If you find any issues, contact the manufacturer right away. source
2.2 Tools You Will Need
The good news is you usually do not need many tools. Most dip stations include an Allen wrench (hex key) for the bolts. You may also need:
- A Phillips head screwdriver (for some models)
- A rubber mallet (to tap parts into place)
- A wrench or socket set (for final tightening)
- Measuring tape (to check bar alignment)
Having the right tools ready will make the job easier and faster. source
2.3 Laying Out the Base Frame
Start with the base. Place the base stabilizers on the floor in the correct position. They should form an A-frame or H-frame shape depending on your model. The base is the foundation of your whole station, so make sure it is sitting flat on the ground. If the floor is uneven, the base will wobble later. We will cover how to fix that in section 4.
Insert the rubber end caps or feet onto the base legs. These caps protect your floor and help with grip. source
2.4 Bolting the Upright Posts and Crossbars
Now attach the upright posts to the base. Slide the posts into the base brackets or bolt them directly depending on your model. Make sure the posts are straight and perpendicular to the floor. Use a level if you have one.
Next, attach the crossbars. These bars connect the two sides of the station and make it much more rigid. Without crossbars, the station can twist during use. Line up the holes and insert the bolts. Finger-tighten them first so you can make small adjustments.
Important: Do not fully tighten everything yet. Leave bolts slightly loose until all parts are in place. This allows you to adjust alignment before final tightening. source
2.5 Attaching the Dip Handles
This step is critical. The dip handles need to be parallel and level with each other. If one handle is higher or angled differently, it can cause uneven stress on your shoulders and wrists.
Attach the handles to the upright posts using the provided bolts. Check that both handles are at the same height by measuring from the floor. Also check that they point straight forward (or slightly outward depending on your model). Make small adjustments now while the bolts are still loose.
Once everything is aligned, begin the final tightening sequence. Start from the base and work your way up. Use your wrench to tighten all bolts firmly — not so tight that you strip the threads, but tight enough that nothing moves. source
2.6 Common Assembly Mistakes to Avoid
Many people make simple mistakes when learning how to assemble a dip station. Here are the most common ones and how to avoid them:
- Misaligned brackets: Take the time to line up brackets correctly before tightening. Forcing a bolt into a crooked bracket can strip the threads.
- Hand-tight only: Bolts that are only finger-tight will loosen during your workout. Always use a tool for final tightening.
- Over-tightening: Tightening bolts too much can strip the threads or crack plastic parts. Stop when the bolt feels snug and secure.
- Skipping crossbars: Some assemblers skip crossbars thinking they are optional. They are not. Crossbars are essential for stability.
- Uneven handles: Not checking that both handles are level and parallel. Always measure and check by eye before final tightening.
Avoid these mistakes and your assembly will go smoothly. source
3. Dip Bar Height Guide: Finding the Right Setting for Your Body
Once you know how to assemble a dip station, the next step is setting the right height. This is where a good dip bar height guide comes in handy. The wrong height can make exercises harder or even dangerous.
3.1 Why Height Matters
Dip bar height affects your range of motion, comfort, and safety. If the bars are too low, you may hit the floor during dips or not get a full stretch. If the bars are too high, you might have to jump to reach them, which can be awkward and unsafe.
Proper height also depends on what exercise you are doing:
- Dips: Bars should be high enough that your shoulders can dip below your elbows without hitting the ground. You should also be able to fully extend your arms at the top.
- L-sits: You need enough clearance for your legs to extend straight out in front of you without touching the floor.
- Push-ups (on the bars): Lower bars work best for push-up variations so you can get your chest close to the bars.
3.2 General Height Recommendations
Most dip stations have a height range of about 30 to 36 inches (76 to 91 cm). This range works well for most people. Here is a quick guide based on your height:
- Under 5’4″ (under 163 cm): Try 28 to 32 inches. Lower bars reduce shoulder strain and make it easier to mount the station.
- 5’4″ to 5’10” (163 to 178 cm): Aim for 32 to 34 inches. This gives you good clearance for dips and L-sits.
- Over 5’10” (over 178 cm): Go for 34 to 36 inches. Taller users need more height for full arm extension and leg clearance.
These are general recommendations. You may need to adjust based on your arm length and which exercises you do most. source
3.3 How to Adjust Height on Your Dip Station
Many dip stations have built-in height adjustment features. Here is how to use them:
- Telescoping posts: Some stations have posts that slide in and out like a telescope. Loosen the locking collar or bolt, slide the post to the desired height, and tighten securely.
- Multiple bolt holes: Other stations have a series of holes along the upright posts. Remove the bolts, move the handles to a different set of holes, and re-bolt.
- Reversible base: A few models let you flip the base or uprights for different heights. Check your manual for this option.
Always check that both sides are set to the same height. Use a measuring tape to be sure. source
3.4 The “Knee Bend Clearance” Rule
A simple way to check if your height is right is the “knee bend clearance” rule. Stand next to the dip station. Gently bend your knees. Your knees should not hit the bars. If they do, the bars are too low. Raise them until you have at least 2 to 3 inches of clearance between your knees and the bars.
This rule helps ensure you have enough room for a full dip motion without bumping into anything. source
3.5 Tips for Shorter and Taller Users
For shorter users: A lower bar setting makes it easier to mount and dismount. You do not want to have to jump up to the bars every time. Lower bars also reduce shoulder strain. If your station does not go low enough, consider adding a small step platform nearby.
For taller users: Higher bars are better for full range of motion. You need the extra room to fully extend your arms at the bottom of a dip. If the bars are too low, you might feel cramped and unable to get a good stretch. Look for a station with a maximum height of at least 35 inches. source
4. How to Stop Dip Bars from Wobbling: Make Your Station Rock-Solid
There is nothing worse than a wobbly dip station. It feels unsafe, distracts you from your workout, and can even cause injury. Learning how to stop dip bars from wobbling is essential for a good training experience.
4.1 Why Do Dip Bars Wobble?
Wobbling usually happens for one of three reasons:
- Uneven flooring: If your floor is not perfectly level, the base of the station will rock side to side.
- Loose bolts: Over time, bolts can loosen from the vibration of workouts. Even if you tightened them during assembly, they may need re-tightening.
- Lightweight construction: Some budget dip stations are made with thinner metal tubing. They are naturally less stable than heavier, commercial-grade stations.
The good news is you can fix all of these problems. source
4.2 Start with the Simplest Fix: Re-Tighten Everything
Before doing anything else, grab your Allen wrench and check every bolt on the station. Tighten each one firmly. Pay special attention to the base bolts and the bolts holding the handles. Often, a simple re-tightening solves the wobble problem completely.
Make this a habit. Check your bolts at least once a month if you use the station regularly. source
4.3 Use Rubber Mats or Anti-Slip Pads
If re-tightening does not fix the wobble, the issue may be with your floor. Place a rubber mat, gym mat, or anti-slip pad underneath the base of the station. This does two things:
- It gives the rubber feet something to grip, preventing sliding.
- It cushions the base on hard floors, reducing small movements.
You can buy interlocking foam mats or rubber gym tiles at most sporting goods stores. Even a simple non-slip rug pad can help. source
4.4 Add Weight to the Base Stabilizers
Some dip stations have weight pegs on the base. These are designed for holding weight plates. If your station has these, add a couple of plates to each side. The extra weight lowers the center of gravity and makes the station much harder to tip or wobble.
If your station does not have weight pegs, you can place weight plates directly on the base frame. Just make sure they are balanced and will not fall off during use. source
4.5 Check Floor Levelness and Use Shims
A dip station needs a completely flat surface. If your garage or workout room floor is sloped (which is common for drainage), the station will wobble. Use a carpenter’s level to check the floor under the base.
If you find uneven spots, use shims. Shims are thin wedges of plastic or wood that you slide under the low side of the base to level it. You can buy shim packs at any hardware store. Slide a shim under the base leg that is off the ground until the station sits flat and level. source
4.6 Use Thread-Locking Compound for Permanent Stability
If bolts keep loosening over time, apply a thread-locking compound. This is a liquid that you apply to the threads of bolts before tightening. It dries and creates a strong bond that prevents vibration from loosening the bolt.
The best option for dip stations is Loctite Blue (Medium Strength). It holds bolts securely but can still be removed with a wrench if needed. Do not use the red (high strength) version unless you never plan to take the station apart. Apply a small drop to each bolt thread, then tighten as normal. Let it cure for 24 hours before heavy use. source
4.7 When Wobble Persists: Reinforcing Welds
In rare cases, a dip station wobbles because of poor welding at the joints. If you have tried everything above and the station still wobbles, inspect the welds carefully. Look for cracks or incomplete welding. If you find any, contact the manufacturer for a replacement. Do not try to weld the station yourself unless you are an experienced welder. It is safer to replace a faulty station. source
5. Safety Tips for Freestanding Dip Stations
Now that you know how to assemble a dip station, set the right height, and fix wobbling, let us talk about staying safe. These safety tips for freestanding dip stations will help you avoid injuries and keep your equipment in good condition for years.
5.1 Use a Flat, Non-Slip Surface
Always place your dip station on a hard, flat, and non-slip surface. Concrete, hardwood, or gym matting all work well. Avoid soft or uneven surfaces like grass, carpet, or tile. A flat surface prevents tipping and keeps the base stable during dynamic movements. source
5.2 Regular Maintenance Checklist
Set a reminder to inspect your dip station once a month. Here is a simple checklist:
- Bolts: Check that all bolts are tight. Re-tighten any that have loosened.
- Welds: Look at all welded joints for cracks or signs of stress.
- Rubber caps and feet: Make sure they are not worn down or missing. Replace them if needed.
- Handles/grips: Check for tears, cracks, or slipping. Foam grips can wear out over time.
- Frame: Look for rust, dents, or bending in the metal tubing.
Keeping your station in good condition prevents accidents before they happen. source
5.3 Never Exceed the Maximum Weight Capacity
Every dip station has a maximum weight capacity. This number includes your body weight plus any extra weight you might wear (weight belts, vests). Check your manual for this number. Do not exceed it. Going over the limit puts stress on the frame and welds, which can lead to bending or breaking.
If you plan to do weighted dips, buy a station with a higher capacity than you currently need. This gives you room to grow. source
5.4 Warm Up and Use Proper Form
Even the best equipment cannot protect you from poor form. Always warm up before using your dip station. Do some arm circles, shoulder rolls, and light stretching for 5 to 10 minutes.
When doing dips, follow these form tips:
- Keep your shoulders down and back, not hunched up.
- Lower yourself slowly and under control.
- Do not go so deep that your shoulders feel pinched or strained.
- Avoid locking your elbows at the top of the movement.
- Do not swing or use momentum. Use slow, controlled movements.
If you feel sharp pain in your shoulders, chest, or elbows, stop immediately. Pain is your body’s way of telling you something is wrong. source
5.5 Ensure Full Assembly Before Each Use
This might sound obvious, but always check that your station is fully assembled before using it. If you took it apart to adjust the height, make sure all bolts are back in and tightened. Never use a partially assembled station. It is not stable and could collapse.
Get into the habit of doing a quick check every time you step up to the bars. Wiggle the handles. Push on the frame. If anything moves or feels loose, inspect and fix it before working out. source
5.6 Keep Children and Pets Away
A dip station can look like a climbing toy to children or a fun obstacle for pets. But it is a piece of exercise equipment, not a play structure. Make sure the area around your station is clear when not in use. If possible, store the station in a room that can be closed off, or use a safety barrier.
Children playing around a heavy metal frame can get hurt. The same goes for pets. Keep the workout zone a no-play zone. source
5.7 When to Retire or Replace Your Dip Station
No piece of equipment lasts forever. Here are signs that it is time to replace your dip station:
- Rust: Surface rust can be cleaned, but deep rust that flakes and pits the metal weakens the frame.
- Cracking: Any crack in the welds or the metal tubing is a safety hazard. Replace the station immediately.
- Bending: If the frame is bent or twisted, it will not be stable. Bending indicates the metal has been overstressed.
- Worn rubber parts: If rubber caps or feet are missing or worn down, the station may slip or scratch your floor.
- Loose joints that cannot be fixed: If bolts no longer tighten properly (stripped threads) or joints are too loose, it is time for a new station.
Your safety is worth more than the cost of a new dip station. Do not use damaged equipment. source
6. Conclusion: Your Dip Station Is Ready — Now Train!
You have done the hard work. You now know how to assemble a dip station correctly, from unboxing to final tightening. You have used this dip bar height guide to find the perfect setting for your body and your exercises. You have learned how to stop dip bars from wobbling with simple fixes like mats, shims, and thread-locking compound. And you have reviewed all the safety tips for freestanding dip stations to ensure years of safe, effective training.
Take a moment to check your setup against everything we covered:
- ✅ All bolts are tight and secure
- ✅ Handles are parallel and level
- ✅ Height is set correctly for your body
- ✅ Station is stable with no wobble
- ✅ Surface is flat and non-slip
- ✅ Weight capacity is not exceeded
- ✅ Monthly maintenance is scheduled
If you checked all these boxes, you are ready to train. Enjoy stronger shoulders, a bigger chest, and more powerful triceps — all from the comfort of your home gym.
We want to hear from you! Drop a comment below with any questions about how to assemble a dip station, share your own height settings, or post a photo of your completed setup. Your experience can help other readers build their dream home gym too.
Happy training!